The Art Group » Discussions


Karver's PowerPoint Wizardry

Tags: #PowerPoint Magic Biatch 
  • January 27, 2018

    Shit man, this is way better than anything I can do with Powerpoint, wouldn't even begin to guess how your getting things like the guy's beard together. Really awesome stuff Karves :D

  • Member
    January 27, 2018
    Damn, I didn't know PowerPoint could do this. I mostly just use Photoshop for my art, but lately I haven't been doing it that much.
  • Member
    January 27, 2018

    Ragin Cajun said:

    Would love a tutorial from you sir.  I bow to your awesomeness.

    A tutorial on how this is possible would be awesome! Hopefully, you and Liss could share some tips.

  • Member
    January 27, 2018

    The Long-Chapper said:

    Aysleph said:

    Wait, this is amazing. You did all of this with PowerPoint!? How?

    Yes, Karver and I have been using powerpoint for a long, long time. Most of my builds are made with PowerPoint. That and a small, free program called paint.net

    I guess that goes to show that you don't need all these fancy programs to create some amazing things. I certainly have access to paint.net, but would I be able to substitute powerpoint with google slides?

  • January 28, 2018

    Damn, thank you very much, guys. Yeah, I think I could do a tutorial or something, just mind you it's somewhat difficult when your PowerPoint is in completely different language than English. But yeah, definitely could try. 

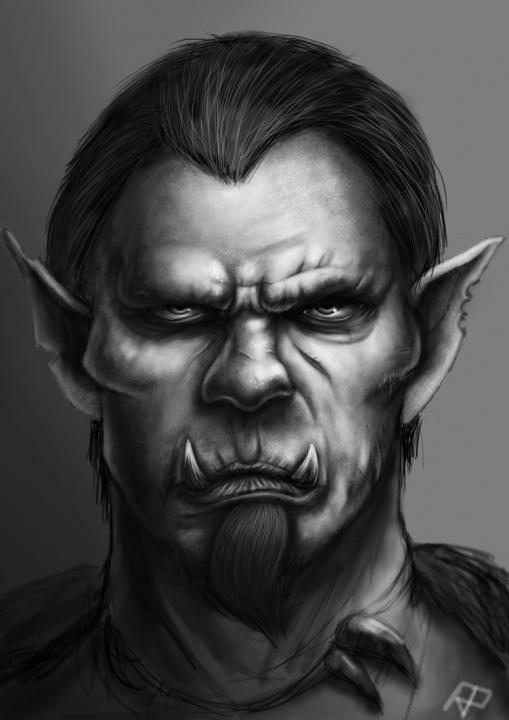
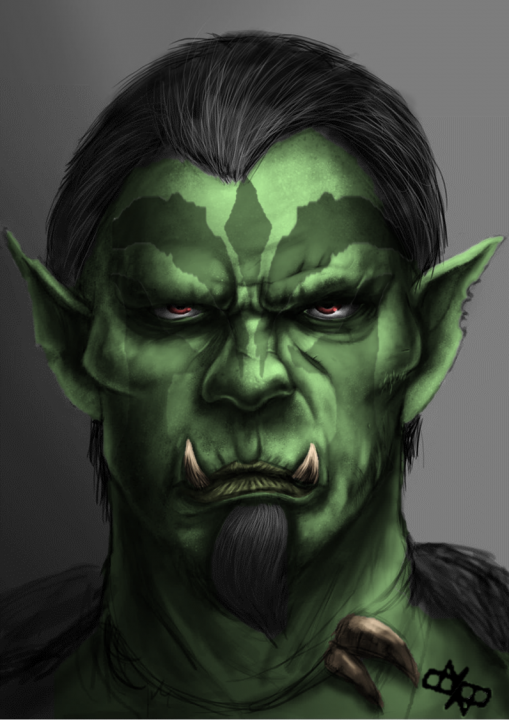
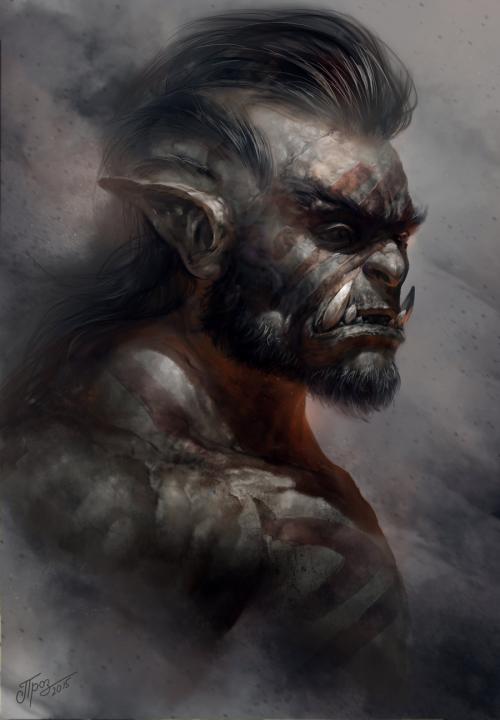
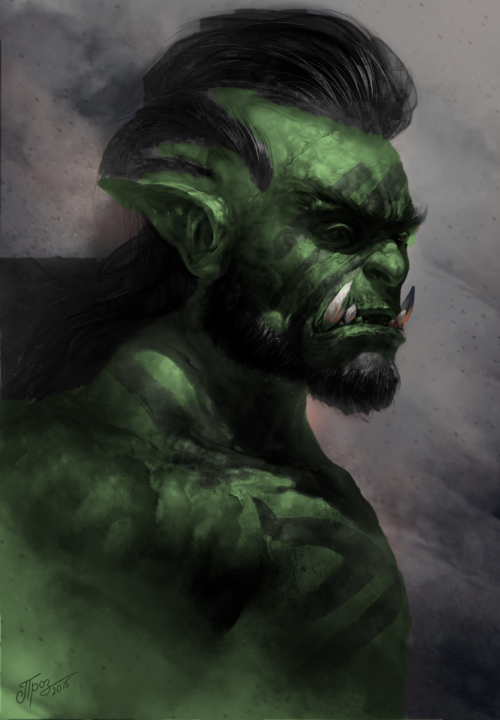
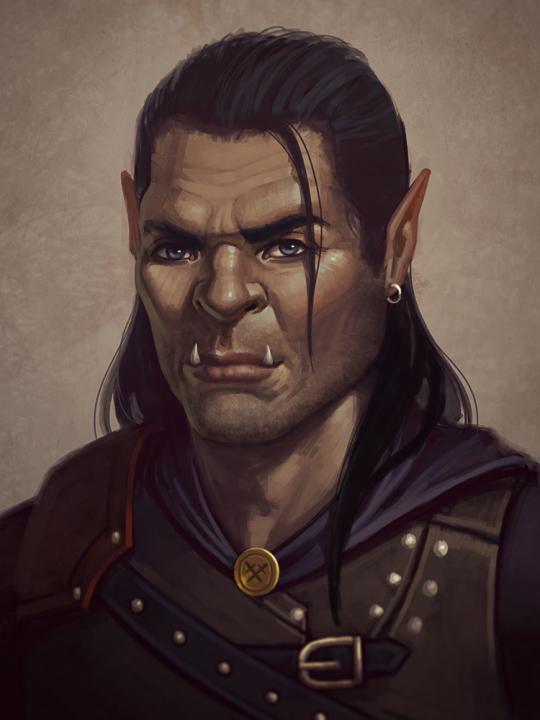
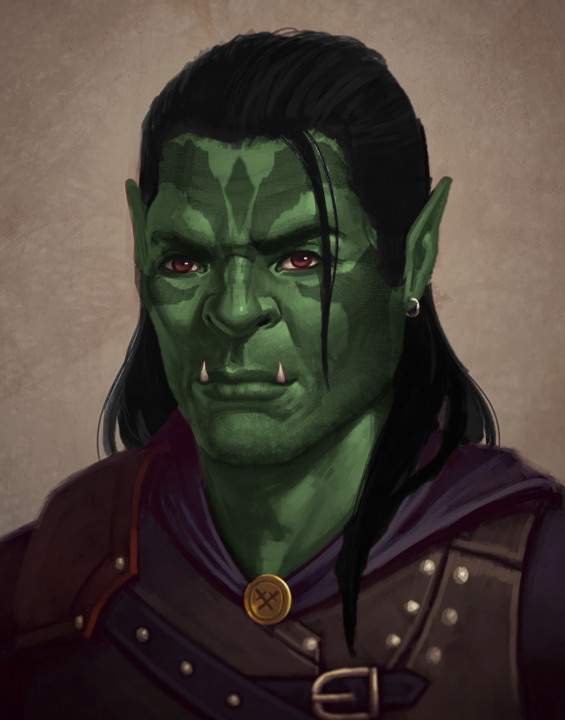
    In the meantime, this is something I've been toying with. You know how you find this really good looking picture but the colours just make your balls itch? Like for example you're looking for cool Orc picture, but instead of that lovely green skin you get brown or grey, or sometimes not even tusks. No tusk?! Tusk that! So these here are few pics I've recoloured and such.


    The tattoos are still difficult for me, just can't make the upper ones look more like ink instead of shadow, but well...

    Now second one:

    And third one: 

  • Member
    January 28, 2018

    I will not be able to picture Of Dusk again without thinking of the King of Worms :D Does look great, though!

  • January 29, 2018

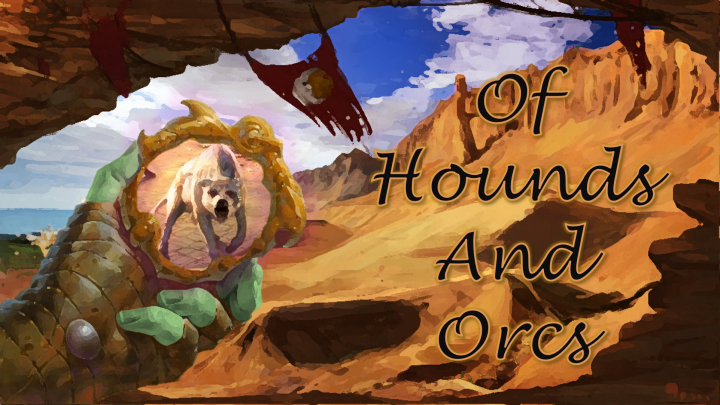
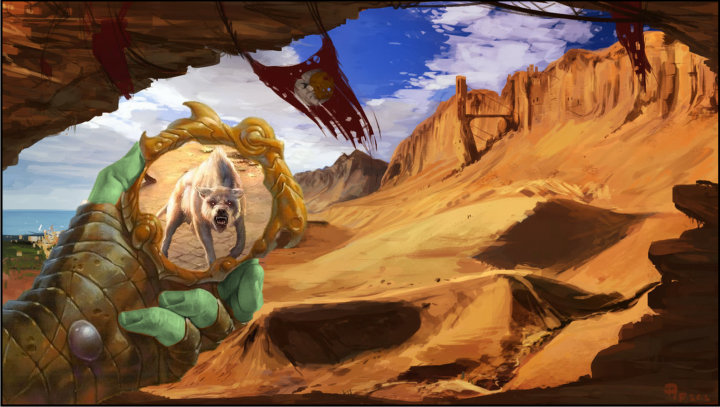
    Ok, so I've decided I'll do a little guide for my PowerPoint Wizardry, using the last thing that I've played with and didn't seem too difficult. So here's what I've been working on:


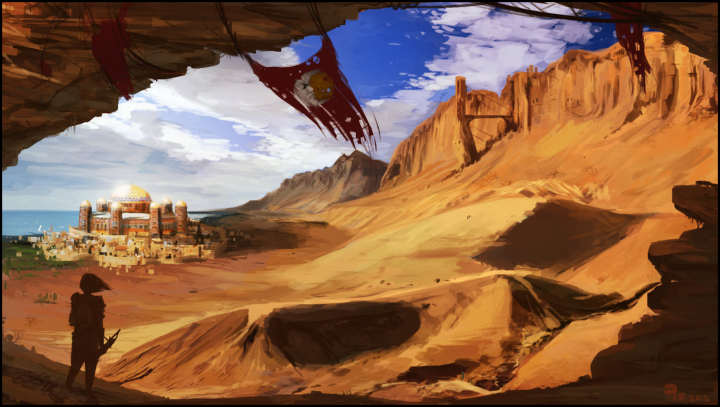
    So the final product, which is pretty much composed out of three pictures that are these:


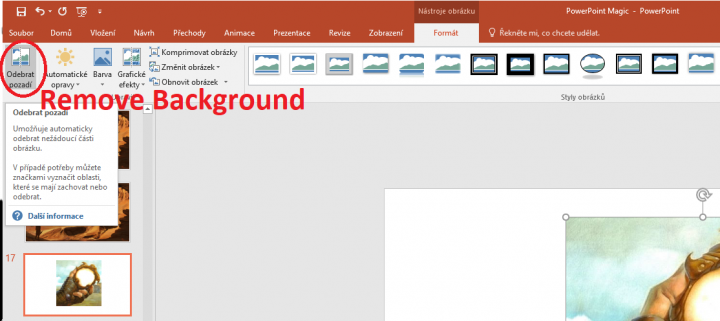
    So these three pictures. Ok, so the let's get the show started. You have to remember that working with PowerPoint is very similar to taking a shit. Because shit takes time and effort. So first thing you need to familirize yourself with is the "Remove Background" 


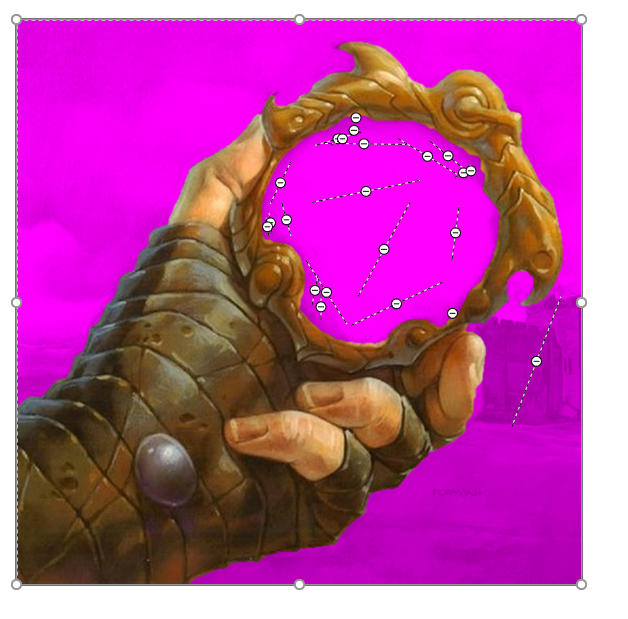
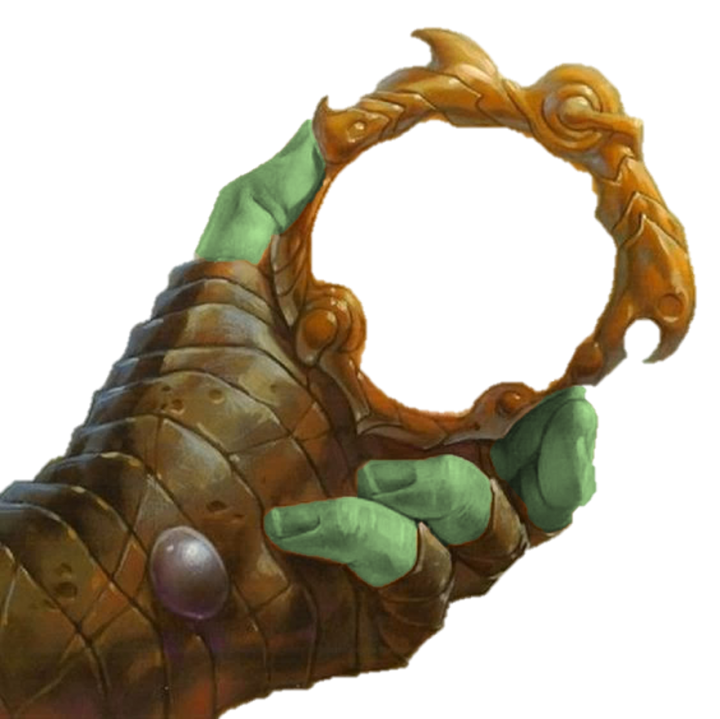
    That one. Get the hang of it, practice with it, because that is basically the bread and butter. What you do with is that you cut out everything out of the picture except the parts you want to recolour for example. So, I take that Hand picture and I want to cut out the background out of it, so only the hand remains.


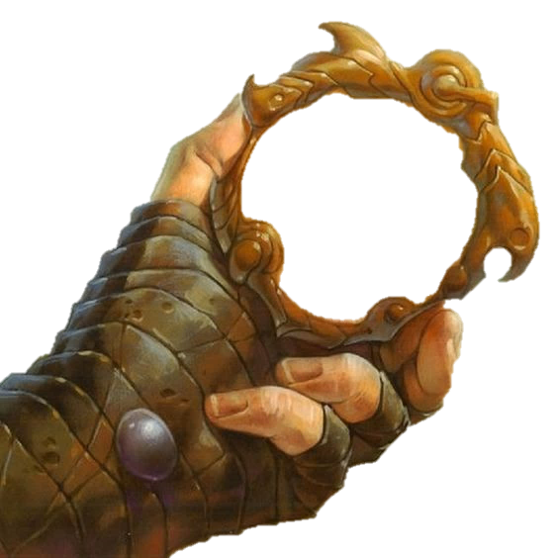
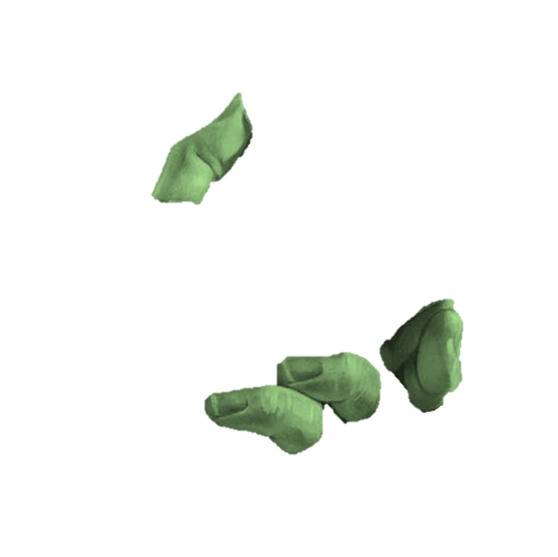
    So I've removed the background and the inside of that circle thingy. Make sure that you keep the original picture on one list and all these cut pictures on separate lists. It is much easier to have them separated. Now, use that original Hand picture again and this time remove everything but the fingers. Like this:


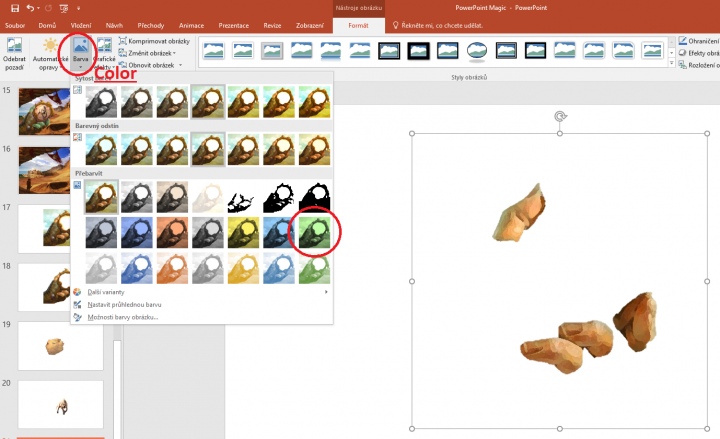
    Now, that you have only the fingers, let's add another thing and that is recolouring it.


    And the final product should be:


    Now it's time for layering. Put those fingers over the hand in PowerPoint and you'll get:


    So yeah, that's most of the magic. I'll do the next part in the next post...

  • January 29, 2018

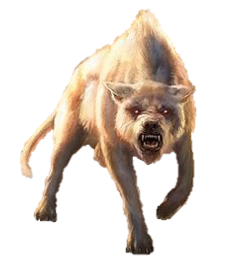
    Now the second part. The dog in the circle thingy. So we have this picture:


    And again, with Background Removal we get the dog out of it. Just the dog.


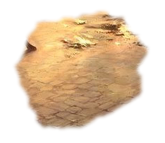
    Ok, another thing I did was take piece of background from that picture, because when I put the dog into the circle-thing there was still the sand background from the main picture. So I cut out the middle of this dog picture, where you can see those tiles. This piece: 


    And now layering again. The tiles are the most back, then the dog and then the hand, all layered over each other.


    Now onto the last part...


  • January 29, 2018

    So the last thing we have to do is layer all that on top of each other. Once you have it use Ctrl+A to select all the pictures (make sure you clicked on the current list) and then with right click you select the option "Save as a picture". When you open the picture in Paint you'll notice there is some white space around, the remains of the removed backgrounds and such. Just resize it in Paint and you'll get this:


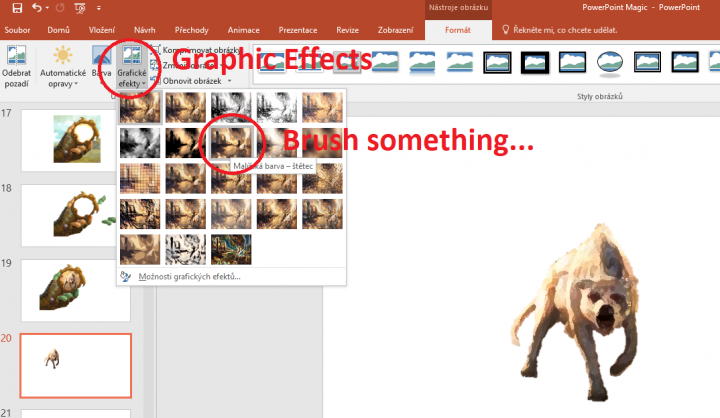
    Now you can see that the styles of the pictures don't match so much, so now it's time to give them some Graphic Effects. 


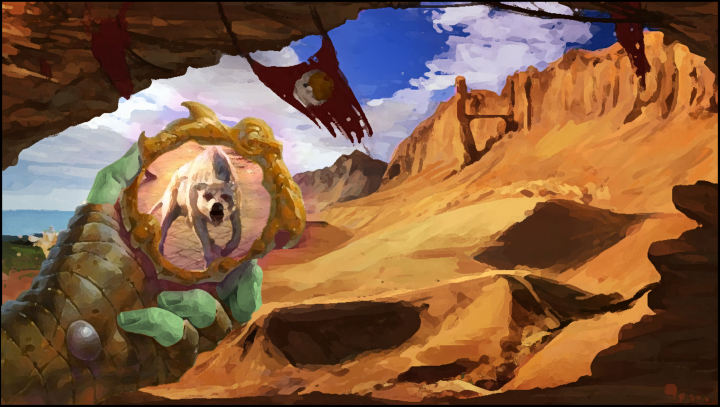
    So the thing that sucks is that you can't select all pictures at once and give them the effect, so you have to do each one individually. So when you do, the result will be this: 


    And that's it. Remove Background, Colors and Graphic Effects. But that's just tip of an iceberg I think. Next time I could show shadows, reflections and glows maybe. When I'll have time, yeah. 

    Just let me know if it helped you guys or not. 


  • Member
    January 29, 2018

    I have no words. Like, actually no words. I'd struggle to do that effectively/efficiently in paint.net (haven't looked at the Remove Background tool in Powerpoint).