Metals! I absolutely love playing around with metals, and luckily for me Skyrim is full of metaly stuff for me to mess with!
For this little tutorial we'll be looking at retexturing 'stuff' to make it look a little cooler and maybe exploring some other things. As with all my little projects I have no idea what the end result will look like so feel free to comment with ideas if you're interested in shaping the project a little bit...
I'm going to select the rarest metal thingy of all for this one! 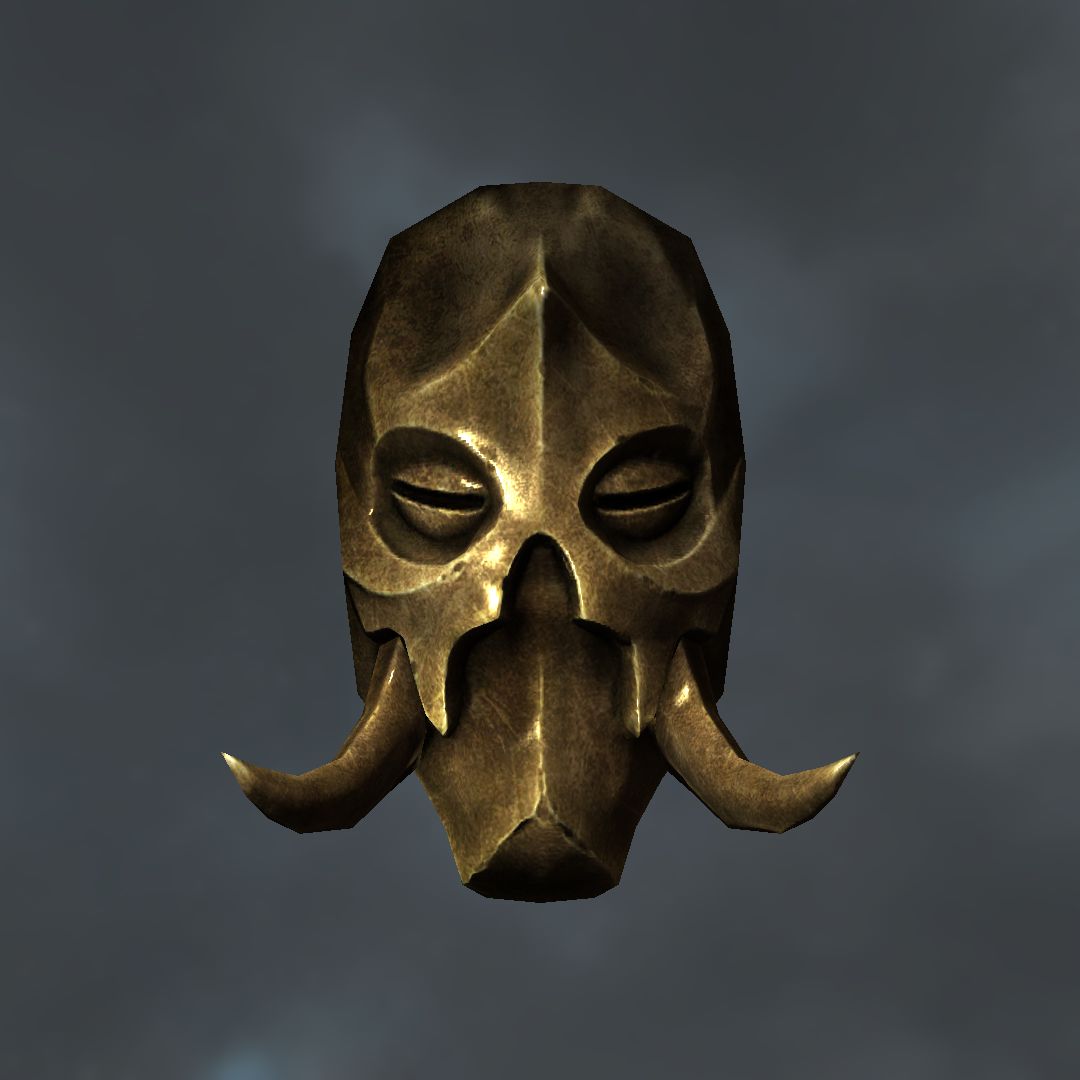
Konahrik, the rarest dragon priest mask! I've never even held this in my own fair hands after two years of playing the game, need to get around to that one day...
First thing I notice about old Kony (TM) here is that he's one skinny fucker, but this is photoshop so we get to do whatever we want...
(Edit->Free Transform->Stretch that shit)
 He's also very urine, and you guys know how I hate urine...
First adjustment layer (Layer->New Adjustment Layer->Hue/Saturation->Yellows down 50%)
 Murky backgound now has to go (snip...snip...snip)
 I've cut our friend out and given him a black background for now. I do this on most of my perk spread images...
I'm going to jump straight in with some textures here to try and enhance the image a little bit...
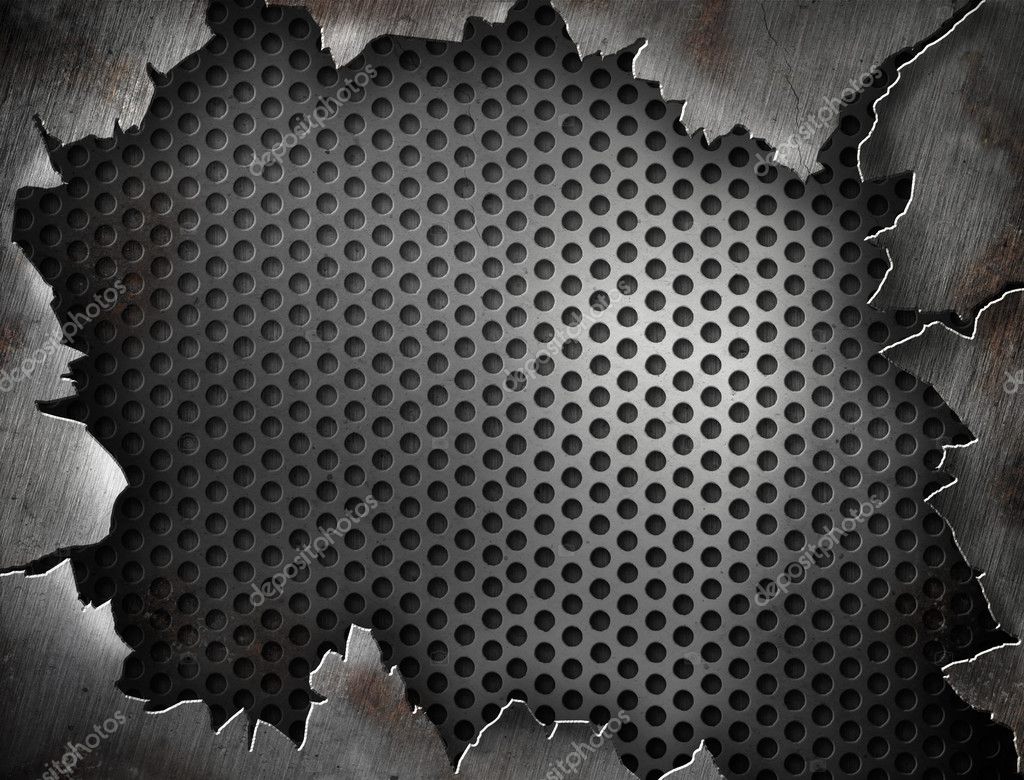
Konahrik stands for warlord and as such he's probably taken a good kicking at some point. That metal should be alot more beat up.... (googles 'scratched metal')
My search leads me to this nice looking texture, I've used it before actually I think...
 I'm going to take this and paste it into photoshop. Then (Layer->Layer Style->Blending Options->Overlay)
Overlay will take some of the details from the scratched up metal and apply them to our mask. I've blown this one up more so you can see...
 We've got a noisy bit going on around that left eye, I'll have to do some tweaking with that at some point maybe...
Now is the mask solid gold or is it gold plated? Lets pretend its gold plated with some shite metal living underneath and expose it through some battle damage... (googles 'cracked metal')
Straight away I find this...
 It's got some silly watermarks on it but we only need a few slices of it for our image...
For now I've pinched this tiny piece of the image and I'm going to find a way of blending it in somehow, I may pinch other pieces later but let's play with this one for now...
 The best blending option for this slice turns out to be 'multiply'. I've applied it to a section of the mask and blurred out the circular mesh because I don't believe the ancient nords had that kind of technology...
 Let's add some sword damage next...
This time I'm going to use the awesome 'liquify' tool to get what I want and maybe attack those tusks...(Filter->Liquify)
Liquify lets you shift parts of the image around, it can be used to change perspective slightly when used on the whole image but in this case we're going to use a tiny, high pressured brush to carve some slices into the image...
Here are the liquify settings I used (urine alert!! liquify temporarily toggles off our adjustments)
 By using the forward warp tool I'm going to start taking slashes at various parts of the image starting with the TUSKETHS!!!
I give Kony a good kicking! He's now got some extra battle damage across his mask and I even took a mace to that annoying eye and mangled it a little...
The Liquify tool is powerful but be careful not to distort the pix too much, work slowly with it and save often...
 It's going ok but the mask is still looking a little plain so lets do a little more retexturing. Before some science geek comes rushing in I know that gold doesn't rust but it can tarnish and will discolor if it's mixed with other metals so lets find something interesting to add...
I already had this gorgeous texture saved from doing the Heretic so lets put it to use again...
 Once it's pasted into photoshop I create an adjustment layer for it (Layer->New Adjustment Layer->Hue/Saturation) and desaturate all the greens and cyans, I don't want them. Then I set it to 'overlay' (Layer->Layer Style->Blending Options->Blend Mode->Overlay).
I then use Free Transform/Transform to re-size and position the texture over the mask at an angle I'm happy with. It's 30 seconds work and the result really starts to make the image look more special...
 If there are any patches that you don't like simply take an eraser to them. There's a bit to much red coming through so I go back to the new textures saturation adjustment layer and tone the reds down by 40%. The colors and positioning can be adjusted at any stage because I haven't actually changed the original texture...
 It's time for a major change to the image. The priest masks are pretty expressionless and this is especially true of Kony who doesn't even have a mouth slot to breath out of (maybe he died of suffocation).
I've decided to remove the entire lower section of the mask...
In case anything goes wrong I've backed up the original file before I go hacking at things!
It's quickly done. Now I make another risky move and merge all my visible layers apart from the background (layer->merge visible). This gives me alot more freedom with the mask and I always have my back-up if things go wrong.
 First I want to just make a quick change to the mask (edit->transform->warp), warp can either be customised by the user but it also has some presets. I select 'arc lower' at its default setting...
 It makes those tusks a little more 'stabby' and also makes the mask 'frown' a little more menacingly...
Next I want to blend the mask into the shadows a little more so I create a new layer and set it as an adjustment layer so it applies to the mask only (hold left alt and click between your layers to bind them).
 Then select black and just start kissing the edges of the mask with a soft paintbrush, I use the same method for adding other shadows. You can also use the burn tool for this but sometimes it can mess with colors and create unwanted noise...
 I've set the mask back like it's perhaps looming out of the shadows. The right side of the mask has been shaded a little more to reflect the brighter patch around the left eye...
Next it's time for some real fun. The texturing has been done so lets turn this into a portrait. We've never seen Kony in the flesh so lets find him a gross mouth to go with his mask. I do some hunting about on google and check out some skeletons but I eventually find this zombie from the walking dead and think it should work nice...
 We want that mouth!! It's proper disgusting...(snip snip)
 I paste the zombie gob between my background and mask layer and begin to do a little shading, it's a little bit too pronounced right now and and the resolution for the image isn't the same but it's going to be fine after more shading. I want the mouth to be only just visible because it's a little more scary that way...
 Shadings done and I decide to change the angle of the shot (edit->free transform) so the image isn't so uniform...
Another trip to google and I find this piece of shit. Should do for what I want though...
 I cut out a hand and set it to screen in photoshop (layer->layer style->blending options->blend mode->screen). 'Screen' removes all traces of black!! That means if we use the paintbrush and spray more black onto the layer it acts as both shading AND eraser...very very handy!!
 Hand is on! Looks craaaap!!! Image needs more lighting/atmosphere to pull it off but that can sometimes be the easy bit!
Ok, let's start looking at doing some crazy eyes for the image (I know a few of you have been looking forward to this bit). Lot's of ways you can do glowing eyes and I haven't decided exactly what I want to do yet. I like a necromancy feel for this one so let's find some blue neon! (googles 'neon bar signs')
I find this (obviously lol)...
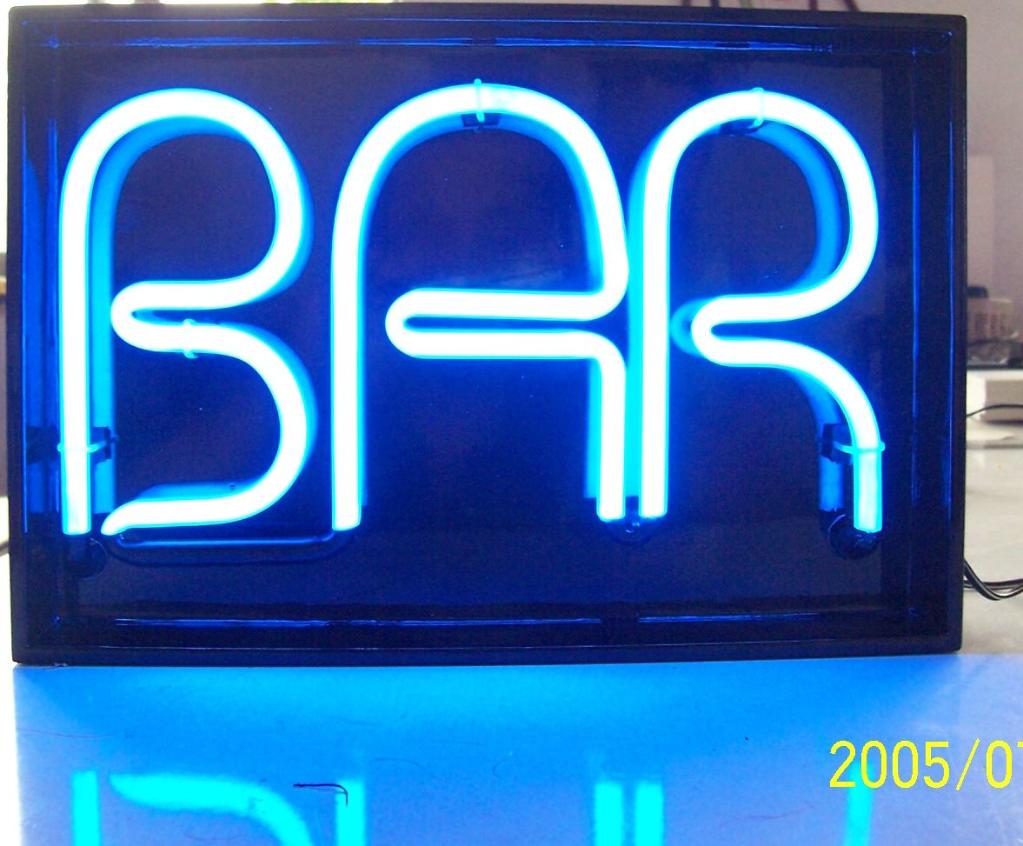 Let's sample some of these nice curves and see if they can find a way into the image...
 Did a little sampling and added some glow-balls! Doesn't look right because the glow isn't reflected in the image. I'm going to try two steps to make this work... (doing this 'live' here apparently...lol)
First I'm going to duplicate the glowing eye layer and then I'm going to add a gaus blur of 10px to the new eye layer. We get this...
 ...a little more glow without losing detail. This step can be repeated a number of times until you get what you want...
Next is one of my favourites...
I'm going to create a new layer and fill it with black. Then Filter->Render->Lighting Effects->Lens Flare. All photoshop noobs love lens flare!
 Remember what I said earlier about what happens if you set a layer to 'Screen', it removes all the black right?
 The Lens Flare filter always creates reds! But we want a kind of necro-blue! (image->adjustments->hue/saturation->hue).....finds a nice blue. I duplicate my lens flares and then resize them to fit the image a little more. I'm stillnot happy with the original samples from the blue bar sign but I can take an eraser to them and give them a trim...
 For now let's start adding more atmosphere. (new layer->filter->render->clouds->set to 'screen')
 It's another 'screen' so lets spray some more black on to expose Kony to the world...(squirt...squirt)
 "The gods gave you two hands...." (Duplicate hand layer->free transform)
 Use the smoke texture from my homepage on the eyes...set them to screen and then 'image->adjustments->hue saturaturation' select some nice blues for the smoke...
 Get a little bit of blue light reflecting on the hands per nelafs request...
Select hand layer then 'Layer->New Adjustment Layer->Photo Filter->Cooling Filter 82@35%'
 Add new hue/saturation layer to hands and tone to match eyes better. Sample cyan from eyes and create a new layer to spray a little lighting on mask. Got to be careful now or I'm going to lose the textures on the mask...
 He just needs a Big Mac...
I do a little more shifting around with the image and eventually settle on a more central position (again).
 Then select all and hit copy merged. Taking the complete image to a new file so I can finish with some last minute filters...
Like last time I duplicate the image and set it to overlay with a 1px gaus blur...
 It makes the image more vibrant but I lose a little of the atmosphere and the hands are looking oversaturated in my opinion (wish I hadn't bothered with them but I've come this far so I may as well try and put them right).
I desaturate the hands a little using the sponge tool with a flow of just 10%...
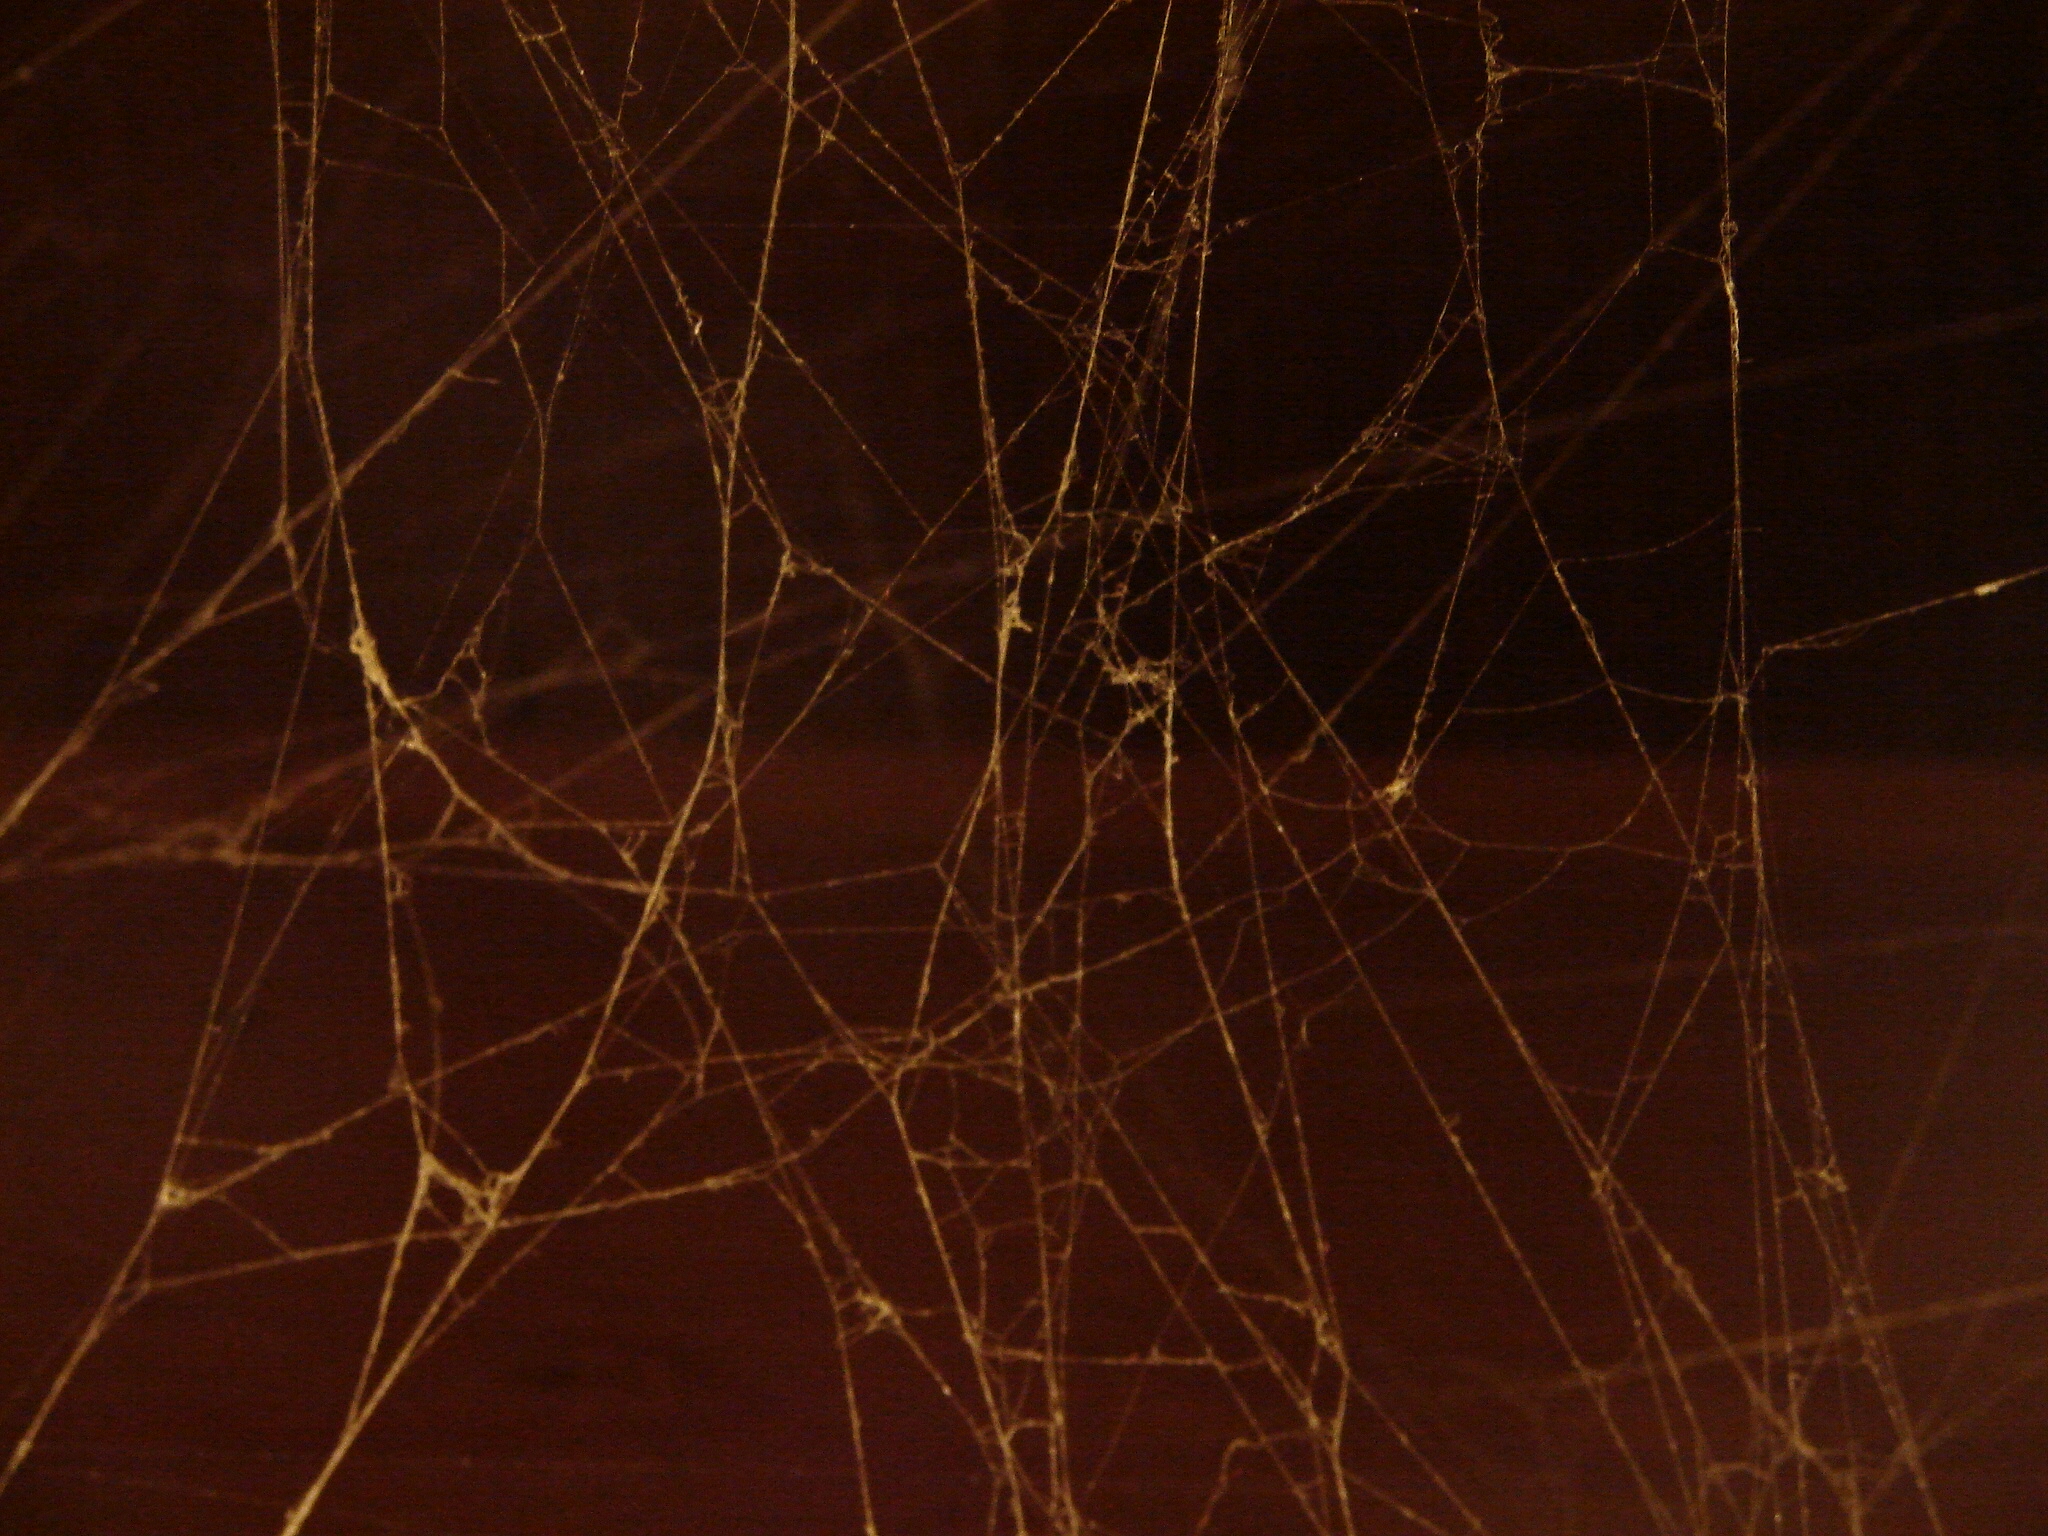
 To get some atmosphere back into the shot I visit google for a nice spider web texture and find this...
 ...the webs are all furry and old looking which is the type I wanted. Once it's in photoshop I desaturate the texture and set it to screen, then image->adjustments->levels to raise up the blacks...
I also add a slight photo filter to the web (image->adjustments->photo fileter->cyan @ 40%)
 I've got sticky web in some places I don't want it but a little work with the eraser will sort that out...
 The webs worked well to finish the image off by tying the stupid hands to the face a little more.
I think I'll finish here. Hope you guys have had fun reading and learned a few tricks! 
Metals! I absolutely love playing around with metals, and luckily for me Skyrim is full of metaly stuff for me to mess with!
For this little tutorial we'll be looking at retexturing 'stuff' to make it look a little cooler and maybe exploring some other things. As with all my little projects I have no idea what the end result will look like so feel free to comment with ideas if you're interested in shaping the project a little bit...
I'm going to select the rarest metal thingy of all for this one!
Konahrik, the rarest dragon priest mask! I've never even held this in my own fair hands after two years of playing the game, need to get around to that one day...
First thing I notice about old Kony (TM) here is that he's one skinny fucker, but this is photoshop so we get to do whatever we want...
(Edit->Free Transform->Stretch that shit)
He's also very urine, and you guys know how I hate urine...
First adjustment layer (Layer->New Adjustment Layer->Hue/Saturation->Yellows down 50%)
Murky backgound now has to go (snip...snip...snip)
I've cut our friend out and given him a black background for now. I do this on most of my perk spread images...
I'm going to jump straight in with some textures here to try and enhance the image a little bit...
Konahrik stands for warlord and as such he's probably taken a good kicking at some point. That metal should be alot more beat up.... (googles 'scratched metal')
My search leads me to this nice looking texture, I've used it before actually I think...
I'm going to take this and paste it into photoshop. Then (Layer->Layer Style->Blending Options->Overlay)
Overlay will take some of the details from the scratched up metal and apply them to our mask. I've blown this one up more so you can see...
We've got a noisy bit going on around that left eye, I'll have to do some tweaking with that at some point maybe...
Now is the mask solid gold or is it gold plated? Lets pretend its gold plated with some shite metal living underneath and expose it through some battle damage... (googles 'cracked metal')
Straight away I find this...
It's got some silly watermarks on it but we only need a few slices of it for our image...
For now I've pinched this tiny piece of the image and I'm going to find a way of blending it in somehow, I may pinch other pieces later but let's play with this one for now...
The best blending option for this slice turns out to be 'multiply'. I've applied it to a section of the mask and blurred out the circular mesh because I don't believe the ancient nords had that kind of technology...Let's add some sword damage next...
This time I'm going to use the awesome 'liquify' tool to get what I want and maybe attack those tusks...(Filter->Liquify)
Liquify lets you shift parts of the image around, it can be used to change perspective slightly when used on the whole image but in this case we're going to use a tiny, high pressured brush to carve some slices into the image...
Here are the liquify settings I used (urine alert!! liquify temporarily toggles off our adjustments)
By using the forward warp tool I'm going to start taking slashes at various parts of the image starting with the TUSKETHS!!!
I give Kony a good kicking! He's now got some extra battle damage across his mask and I even took a mace to that annoying eye and mangled it a little...
The Liquify tool is powerful but be careful not to distort the pix too much, work slowly with it and save often...
It's going ok but the mask is still looking a little plain so lets do a little more retexturing. Before some science geek comes rushing in I know that gold doesn't rust but it can tarnish and will discolor if it's mixed with other metals so lets find something interesting to add...
I already had this gorgeous texture saved from doing the Heretic so lets put it to use again...
Once it's pasted into photoshop I create an adjustment layer for it (Layer->New Adjustment Layer->Hue/Saturation) and desaturate all the greens and cyans, I don't want them. Then I set it to 'overlay' (Layer->Layer Style->Blending Options->Blend Mode->Overlay).
I then use Free Transform/Transform to re-size and position the texture over the mask at an angle I'm happy with. It's 30 seconds work and the result really starts to make the image look more special...
If there are any patches that you don't like simply take an eraser to them. There's a bit to much red coming through so I go back to the new textures saturation adjustment layer and tone the reds down by 40%. The colors and positioning can be adjusted at any stage because I haven't actually changed the original texture...
It's time for a major change to the image. The priest masks are pretty expressionless and this is especially true of Kony who doesn't even have a mouth slot to breath out of (maybe he died of suffocation).
I've decided to remove the entire lower section of the mask...
In case anything goes wrong I've backed up the original file before I go hacking at things!
It's quickly done. Now I make another risky move and merge all my visible layers apart from the background (layer->merge visible). This gives me alot more freedom with the mask and I always have my back-up if things go wrong.
First I want to just make a quick change to the mask (edit->transform->warp), warp can either be customised by the user but it also has some presets. I select 'arc lower' at its default setting...
It makes those tusks a little more 'stabby' and also makes the mask 'frown' a little more menacingly...
Next I want to blend the mask into the shadows a little more so I create a new layer and set it as an adjustment layer so it applies to the mask only (hold left alt and click between your layers to bind them).
Then select black and just start kissing the edges of the mask with a soft paintbrush, I use the same method for adding other shadows. You can also use the burn tool for this but sometimes it can mess with colors and create unwanted noise...
I've set the mask back like it's perhaps looming out of the shadows. The right side of the mask has been shaded a little more to reflect the brighter patch around the left eye...
Next it's time for some real fun. The texturing has been done so lets turn this into a portrait. We've never seen Kony in the flesh so lets find him a gross mouth to go with his mask. I do some hunting about on google and check out some skeletons but I eventually find this zombie from the walking dead and think it should work nice...
We want that mouth!! It's proper disgusting...(snip snip)
I paste the zombie gob between my background and mask layer and begin to do a little shading, it's a little bit too pronounced right now and and the resolution for the image isn't the same but it's going to be fine after more shading. I want the mouth to be only just visible because it's a little more scary that way...
Shadings done and I decide to change the angle of the shot (edit->free transform) so the image isn't so uniform...
Another trip to google and I find this piece of shit. Should do for what I want though...
I cut out a hand and set it to screen in photoshop (layer->layer style->blending options->blend mode->screen). 'Screen' removes all traces of black!! That means if we use the paintbrush and spray more black onto the layer it acts as both shading AND eraser...very very handy!!
Hand is on! Looks craaaap!!! Image needs more lighting/atmosphere to pull it off but that can sometimes be the easy bit!
Ok, let's start looking at doing some crazy eyes for the image (I know a few of you have been looking forward to this bit). Lot's of ways you can do glowing eyes and I haven't decided exactly what I want to do yet. I like a necromancy feel for this one so let's find some blue neon! (googles 'neon bar signs')
I find this (obviously lol)...
Let's sample some of these nice curves and see if they can find a way into the image...
Did a little sampling and added some glow-balls! Doesn't look right because the glow isn't reflected in the image. I'm going to try two steps to make this work... (doing this 'live' here apparently...lol)
First I'm going to duplicate the glowing eye layer and then I'm going to add a gaus blur of 10px to the new eye layer. We get this...
...a little more glow without losing detail. This step can be repeated a number of times until you get what you want...
Next is one of my favourites...
I'm going to create a new layer and fill it with black. Then Filter->Render->Lighting Effects->Lens Flare. All photoshop noobs love lens flare!
Remember what I said earlier about what happens if you set a layer to 'Screen', it removes all the black right?
The Lens Flare filter always creates reds! But we want a kind of necro-blue! (image->adjustments->hue/saturation->hue).....finds a nice blue. I duplicate my lens flares and then resize them to fit the image a little more. I'm stillnot happy with the original samples from the blue bar sign but I can take an eraser to them and give them a trim...
For now let's start adding more atmosphere. (new layer->filter->render->clouds->set to 'screen')
It's another 'screen' so lets spray some more black on to expose Kony to the world...(squirt...squirt)
"The gods gave you two hands...." (Duplicate hand layer->free transform)
Use the smoke texture from my homepage on the eyes...set them to screen and then 'image->adjustments->hue saturaturation' select some nice blues for the smoke...
Get a little bit of blue light reflecting on the hands per nelafs request...
Select hand layer then 'Layer->New Adjustment Layer->Photo Filter->Cooling Filter 82@35%'
Add new hue/saturation layer to hands and tone to match eyes better. Sample cyan from eyes and create a new layer to spray a little lighting on mask. Got to be careful now or I'm going to lose the textures on the mask...
He just needs a Big Mac...
I do a little more shifting around with the image and eventually settle on a more central position (again).
Then select all and hit copy merged. Taking the complete image to a new file so I can finish with some last minute filters...
Like last time I duplicate the image and set it to overlay with a 1px gaus blur...
It makes the image more vibrant but I lose a little of the atmosphere and the hands are looking oversaturated in my opinion (wish I hadn't bothered with them but I've come this far so I may as well try and put them right).
I desaturate the hands a little using the sponge tool with a flow of just 10%...
To get some atmosphere back into the shot I visit google for a nice spider web texture and find this...
...the webs are all furry and old looking which is the type I wanted. Once it's in photoshop I desaturate the texture and set it to screen, then image->adjustments->levels to raise up the blacks...
I also add a slight photo filter to the web (image->adjustments->photo fileter->cyan @ 40%)
I've got sticky web in some places I don't want it but a little work with the eraser will sort that out...
The webs worked well to finish the image off by tying the stupid hands to the face a little more.
I think I'll finish here. Hope you guys have had fun reading and learned a few tricks!


 Looks hideous, enchantment sucks...
